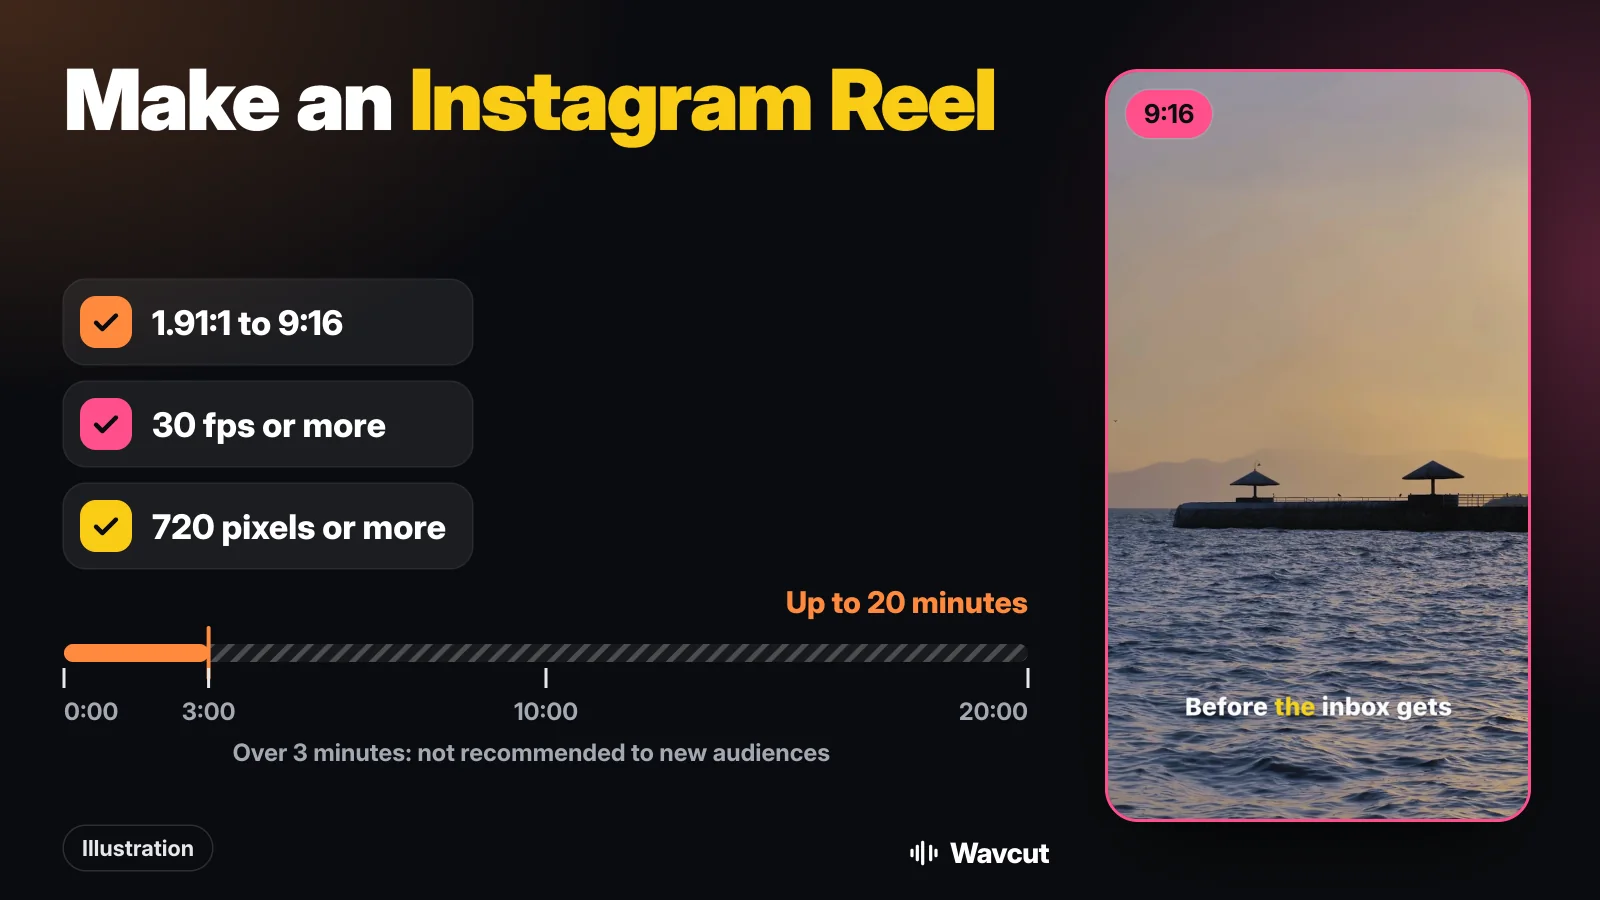
To make an Instagram Reel, you record or pick a video in Instagram's Reels camera, add what you want on top, and share it. On an iPhone the whole thing takes a minute. Below: Instagram's own steps, how long a reel can be, the upload rules most guides leave out (Instagram asks for at least 30 fps and 720 pixels), and how to cut the pauses and add captions in Wavcut before you post.
How do you make a Reel in the Instagram app?
These are the iPhone steps as Instagram Help writes them:
- From your Feed, tap Create at the bottom.
- Tap REEL at the bottom.
- Tap Camera at the top to record a new reel.
- Tap and hold Record to record a clip, or tap it to start and tap again to stop. To use a video you already filmed, tap your camera roll in the bottom left.
- Tap Next. Here you can add Audio, Text, Stickers and Effects, or Download the reel to your iPhone.
- Tap Edit video in the bottom left to work on a timeline of your clips, text, stickers and music. Add clips and Reorder are there too.
- Tap Next in the top right, write a caption, then tap Share.
If you cannot find REEL at all, that may not be you: Instagram notes that "Reels isn't currently available to everyone" and that some accounts can watch reels but not record them.
How long can an Instagram Reel be?
Instagram Help is direct: "You can record and edit videos up to 20 minutes with Instagram Reels," as one clip or several that add up to that. The same page carries the line that matters if you want reach: "Reels over 3 minutes won't be recommended to new audiences."
When we read the search results for this topic on November 19, 2026, several top guides still gave limits of 15, 30, 60 or 90 seconds. Those numbers are out of date. A reel meant to find new viewers should end by 3:00, and the cheapest way to get there is to cut the pauses rather than the words: our 12.1-second sample take lost 5 seconds of dead air in Wavcut and kept every word.
Which size, frame rate and resolution does a Reel need?
Checked on November 19, 2026, against Instagram Help, Apple's iPhone User Guide and the app itself:
| Setting | Instagram Help | iPhone Camera | Wavcut export |
|---|---|---|---|
| Aspect ratio | Between 1.91:1 and 9:16 | Vertical when you hold the iPhone upright | 9:16, 4:5, 1:1, 16:9 or 3:4, all inside Instagram's range |
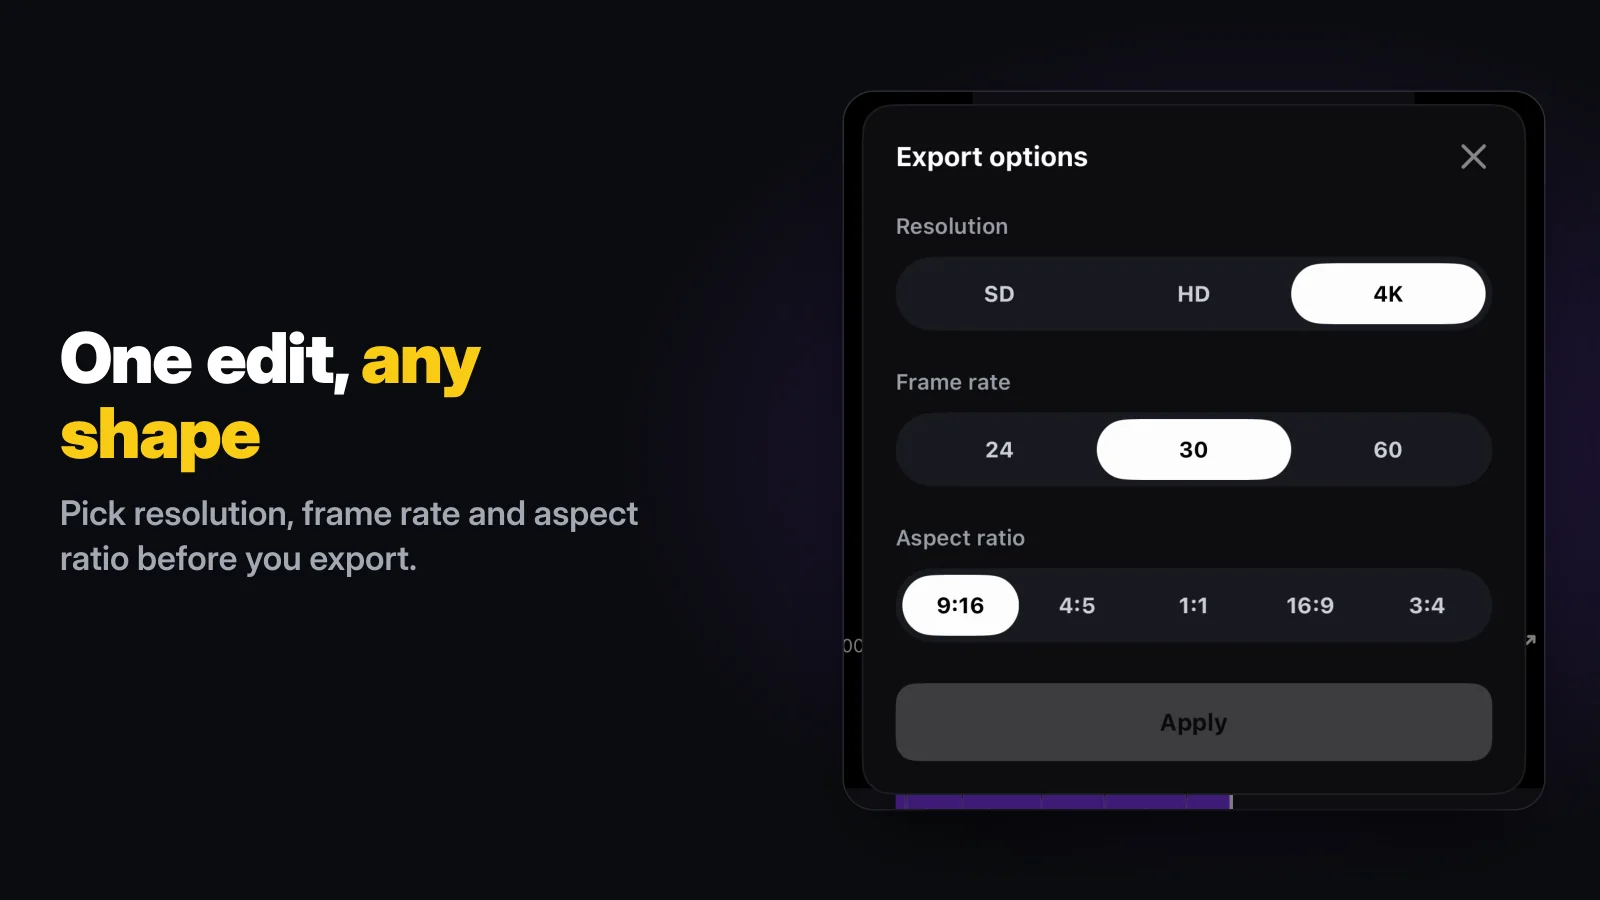
| Frame rate | At least 30 fps | Auto FPS can drop to 24 fps in low light | 24, 30 or 60; new videos start at 30 |
| Resolution | At least 720 pixels | Set in Settings > Camera > Record Video | SD (720p), HD or 4K |
| Length | Up to 20 minutes; over 3 minutes is not recommended to new audiences | - | Shown on the timeline after the silence cut |
| Price | Free | Built in | Free plan; SD (720p) exports are clean, HD and 4K carry a watermark |
The setting that can quietly break the rule is the frame rate. Apple says the iPhone "can improve the video quality in low-light situations by automatically reducing the frame rate to 24 fps." To change that, go to Settings > Camera > Record Video, then tap Auto FPS or turn off Auto Low Light FPS, depending on your model. The other way is to export at 30 fps: Wavcut projects start at 30, and 24 is only used if you pick it.
Instagram also has its own quality switch. Tap your profile picture, tap Menu, then Media quality, and turn on Upload at highest quality. Instagram notes that uploads can take longer with it on.
How do you edit a Reel on your iPhone before posting?
A worked example with our own footage: for the App Store preview we recorded a 12.1-second talking take about a morning routine, holding the phone upright. This is the path from that take to a posted reel.
- Film upright. Hold the iPhone vertically so the clip is 9:16 from the start. Frame yourself from the chest up and leave room at the bottom for captions.
- Open it in Wavcut. Tap New Video and pick the clip. The active preset runs the edit; Talking Head cuts silent pauses and adds captions.
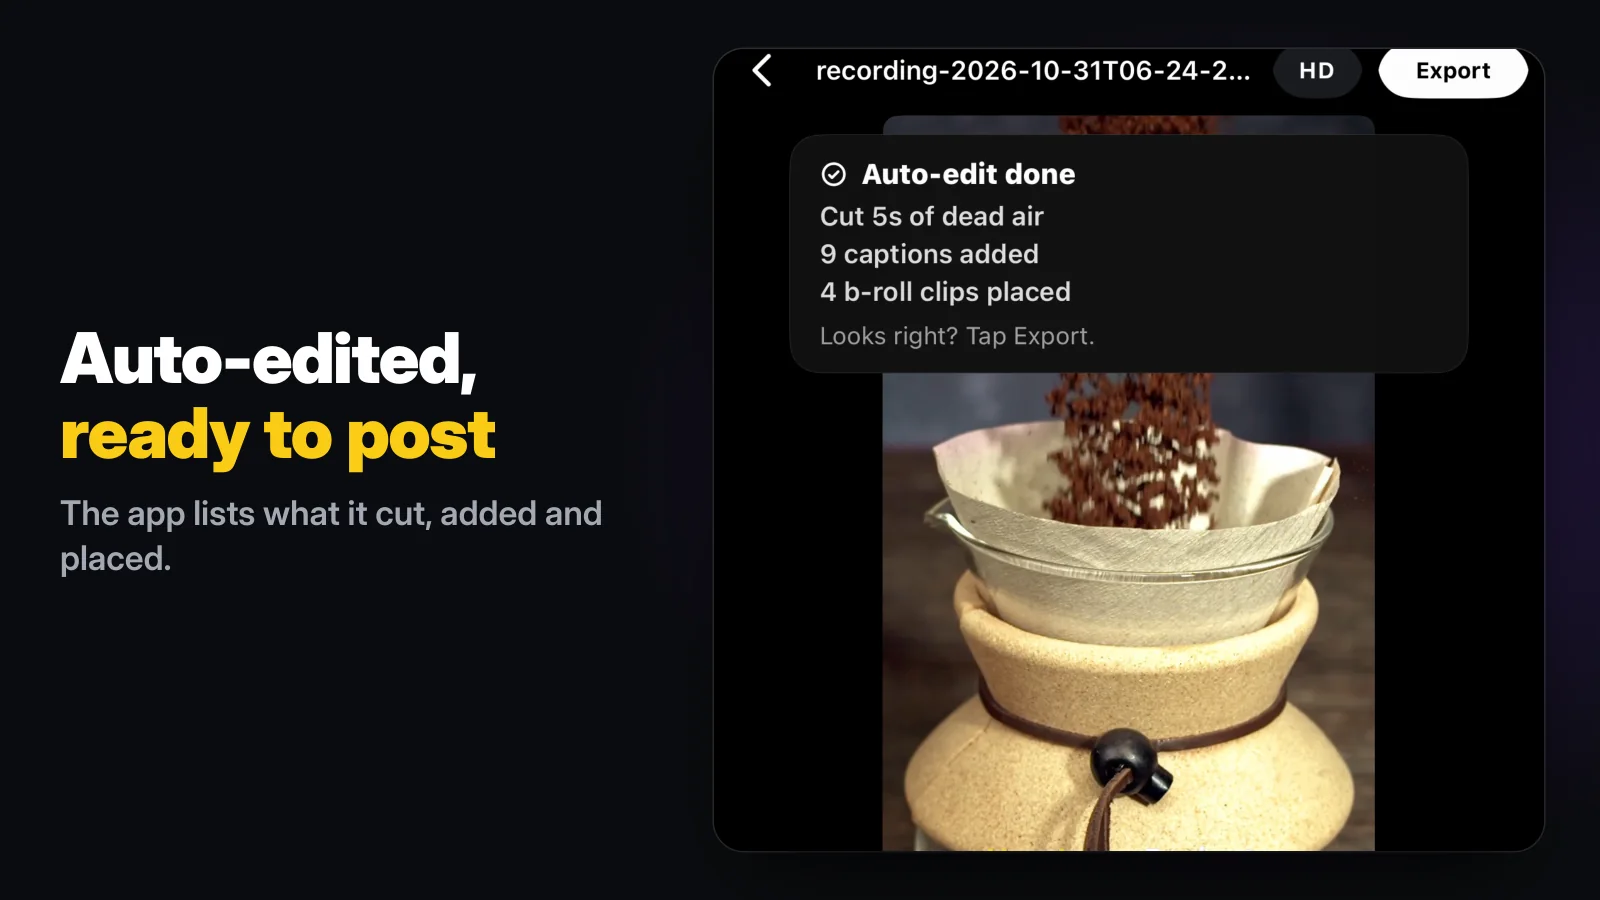
- Check the result. For the sample take the app reported 5 seconds of dead air cut, 9 captions added and 4 b-roll clips placed. One undo reverts the silence cut, and clips, captions and b-roll stay editable on the timeline.
- Export. In Export options keep the aspect ratio at 9:16 and the frame rate at 30 or 60, then pick the resolution. Every resolution Wavcut offers meets Instagram's 720-pixel minimum.
- Send it to Instagram. On the share screen, tap Instagram. Wavcut saves the video to Photos and opens Instagram with that video selected; if Instagram is not installed, the iPhone share sheet opens instead. Then follow Instagram's Next steps above and tap Share.
Wavcut does not post for you. The reel goes up from your own Instagram account, with your caption, cover and audience settings. If you prefer, tap Save instead and add the video later from your camera roll in the Reels camera.
Can you make a Reel without showing your face?
Yes. Record a voice-over instead of a take, and let the edit fill the picture. In Wavcut that is the Audio Only mode: the narration is transcribed, pauses are cut, and b-roll from your collections covers the whole visual track, timed to what you say. Our list of faceless channel ideas works for reels as well, and how to voice over a video covers the recording itself.
What are the limits?
Wavcut is iPhone-only for now and has no speed control. On Free, captions run on the phone for 3 videos a month; Pro and Max send the clip's audio for AI captions in 60+ languages. SD exports are watermark-free on Free; HD and 4K carry a watermark. The silence cut runs on the phone on every plan: remove silence from a video explains how it decides what to cut, and auto captions covers the caption side. For a reel-by-reel workflow, see Wavcut for Instagram Reels; if you are weighing editors, read Wavcut vs CapCut. Posting the same video to YouTube too? See how to make a YouTube Short, and if you filmed it in pieces, how to combine videos on iPhone.