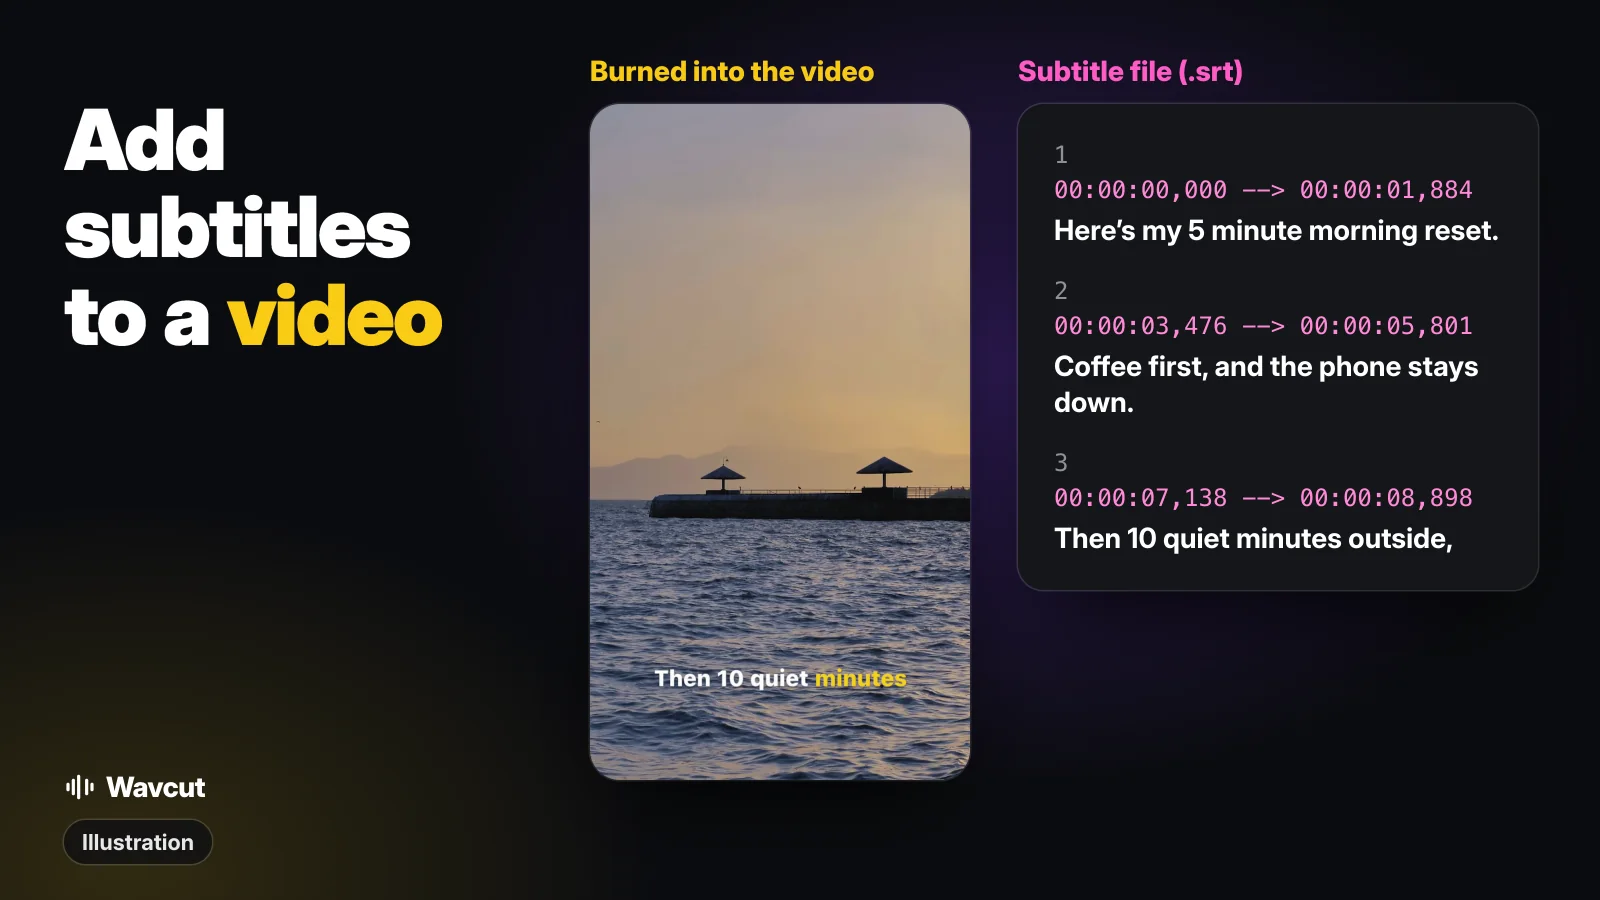
There are two ways to add subtitles to a video: burn them into the picture, or attach a subtitle file such as an SRT that the player shows on top. Burned-in subtitles go wherever the video goes. A file can be switched off, fixed after posting and offered in several languages, but only where the platform accepts one. Below is how to do both, with a real SRT file from one of our own takes.
What is the difference between burned-in subtitles and a subtitle file?
Burned-in subtitles (also called open captions) are pixels in the video. A subtitle file (closed captions) is text with start and end times that the player draws over the video. Checked on November 9, 2026:
| Burned into the video | Subtitle file (.srt) | |
|---|---|---|
| Where the text lives | In the picture itself | In a separate text file next to the video |
| Can viewers turn it off? | No | Yes, where the player has a subtitles button |
| Fixing a typo after posting | Export and upload the video again | Edit the file and upload it again |
| Where it works | Any app or player, because it is part of the video | Only where the platform takes a file; YouTube does |
| Look | Any font, colour and animation your editor has | Plain text in a basic .srt; the player decides the look |
| Several languages | One language per export | One file per language on the same video |
A short rule: if the same clip goes to several apps, burn the subtitles in. If it lives on YouTube, is long, or needs more than one language, upload a file.
How do you add subtitles to a video on iPhone?
iOS has no built-in tool that writes subtitles into a video. Live Captions (Settings, Accessibility, Live Captions, on iPhone 11 or later) shows a real-time transcript in a window on your screen, which helps you follow audio but leaves the video file as it was. Apple's Clips app, which could caption a recording, is no longer updated and has not been available for download to new users since October 10, 2025.
So you need an editor. In Wavcut, add your clip, or choose Audio Only and record a voice-over. The auto-edit transcribes the speech and lays the captions on their own track in the style of your preset. Open the caption sheet to change the font, the style or the animation: Off, Karaoke, Pop, Reveal or Bounce.
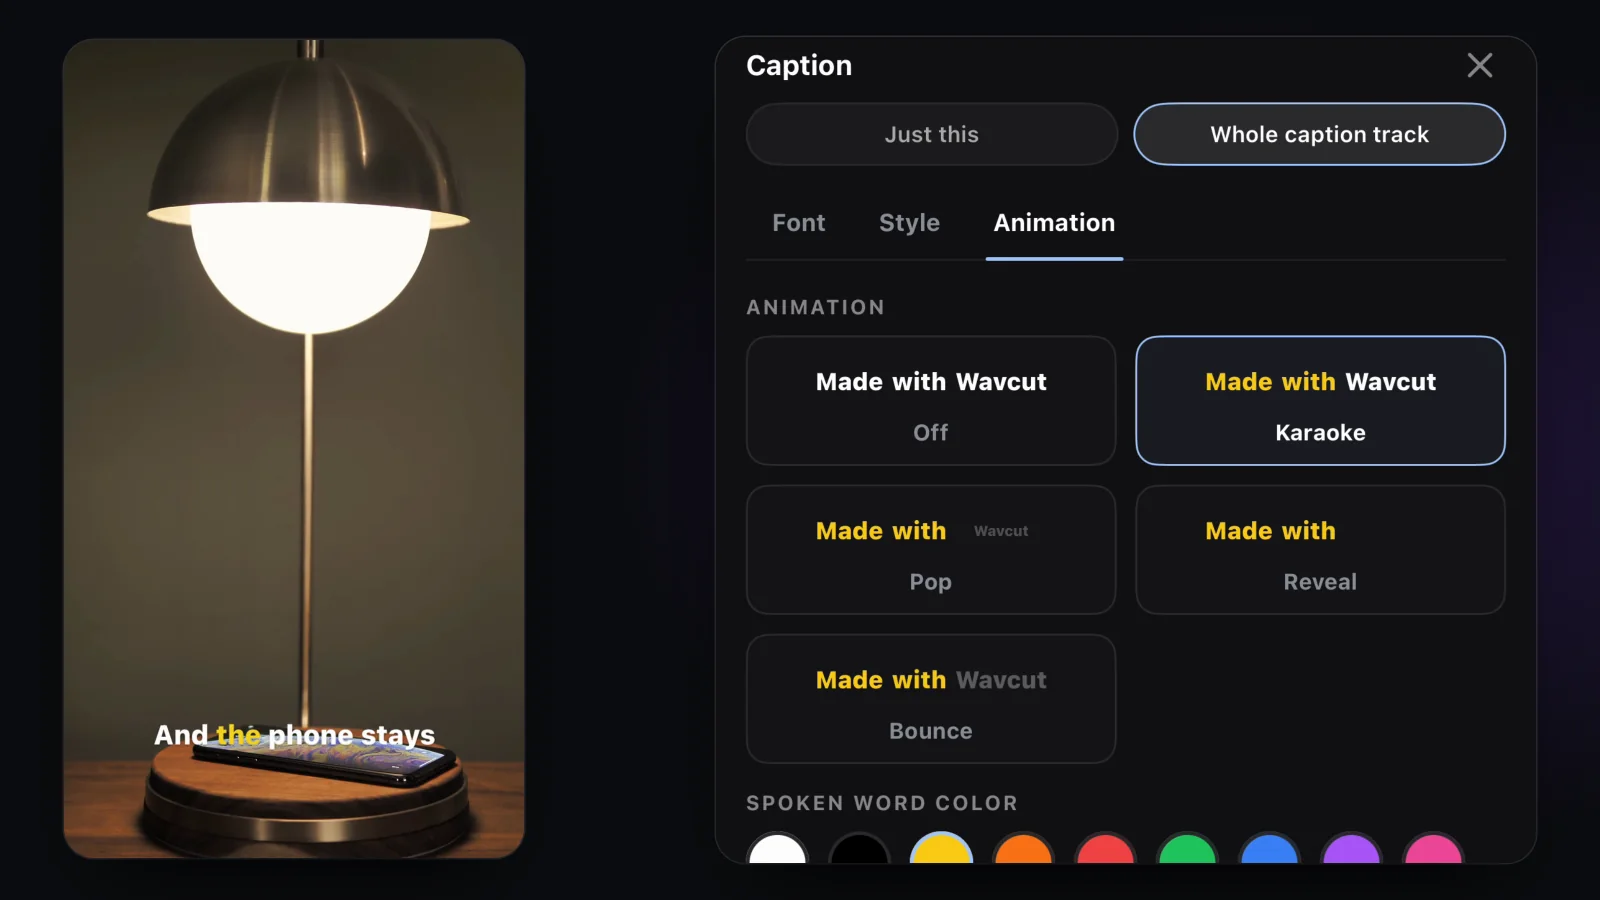
Watch the result once before you export and check names and unusual words, because no speech recognition gets every one. Then export: the subtitles are part of the picture and show up wherever you post it.
On the Free plan, captions are made on the iPhone with Apple Speech for 3 videos a month and work best in English. Pro and Max use AI captions in 60+ languages, with 50 and 200 caption minutes a month. Free exports are clean at 720p; higher resolutions carry a watermark until you upgrade. Wavcut burns subtitles in; it does not export an SRT file. Our guide to captions on iPhone goes deeper on caption styles and accuracy.
How do you add a subtitle file to a YouTube video?
YouTube's own steps, from its help page:
- Sign in to YouTube Studio.
- From the left menu, select Subtitles.
- Select the video.
- Click Add language and select your language.
- Under "Subtitles", click Add.
- Select Upload file, choose With timing or Without timing, then select Continue.
- Choose the file and select Save.
No file yet? Choose Auto-sync instead and paste the words of the video, or upload a plain transcript: YouTube sets the timing for you. Its help page says the transcript must be in the language spoken in the video and is not recommended for videos over an hour or with poor audio. YouTube also makes automatic captions on its own, but only in the video's default language.
What does an SRT subtitle file look like?
Here is a real one. We recorded a 12-second voice-over about a morning routine for our App Store preview, took the word timings a speech model gave for it, and started a new cue at every pause longer than half a second:
1
00:00:00,000 --> 00:00:01,884
Here's my 5 minute morning reset.

2
00:00:03,476 --> 00:00:05,801
Coffee first, and the phone stays down.

3
00:00:07,138 --> 00:00:08,898
Then 10 quiet minutes outside,

4
00:00:09,867 --> 00:00:11,426
before the inbox gets a vote.
Each cue is a number, a start and end time (hours, minutes, seconds, then milliseconds after a comma), the text, and a blank line. You can write one in any plain text editor. YouTube reads basic SRT only, with no style information, and the file must be in plain UTF-8.
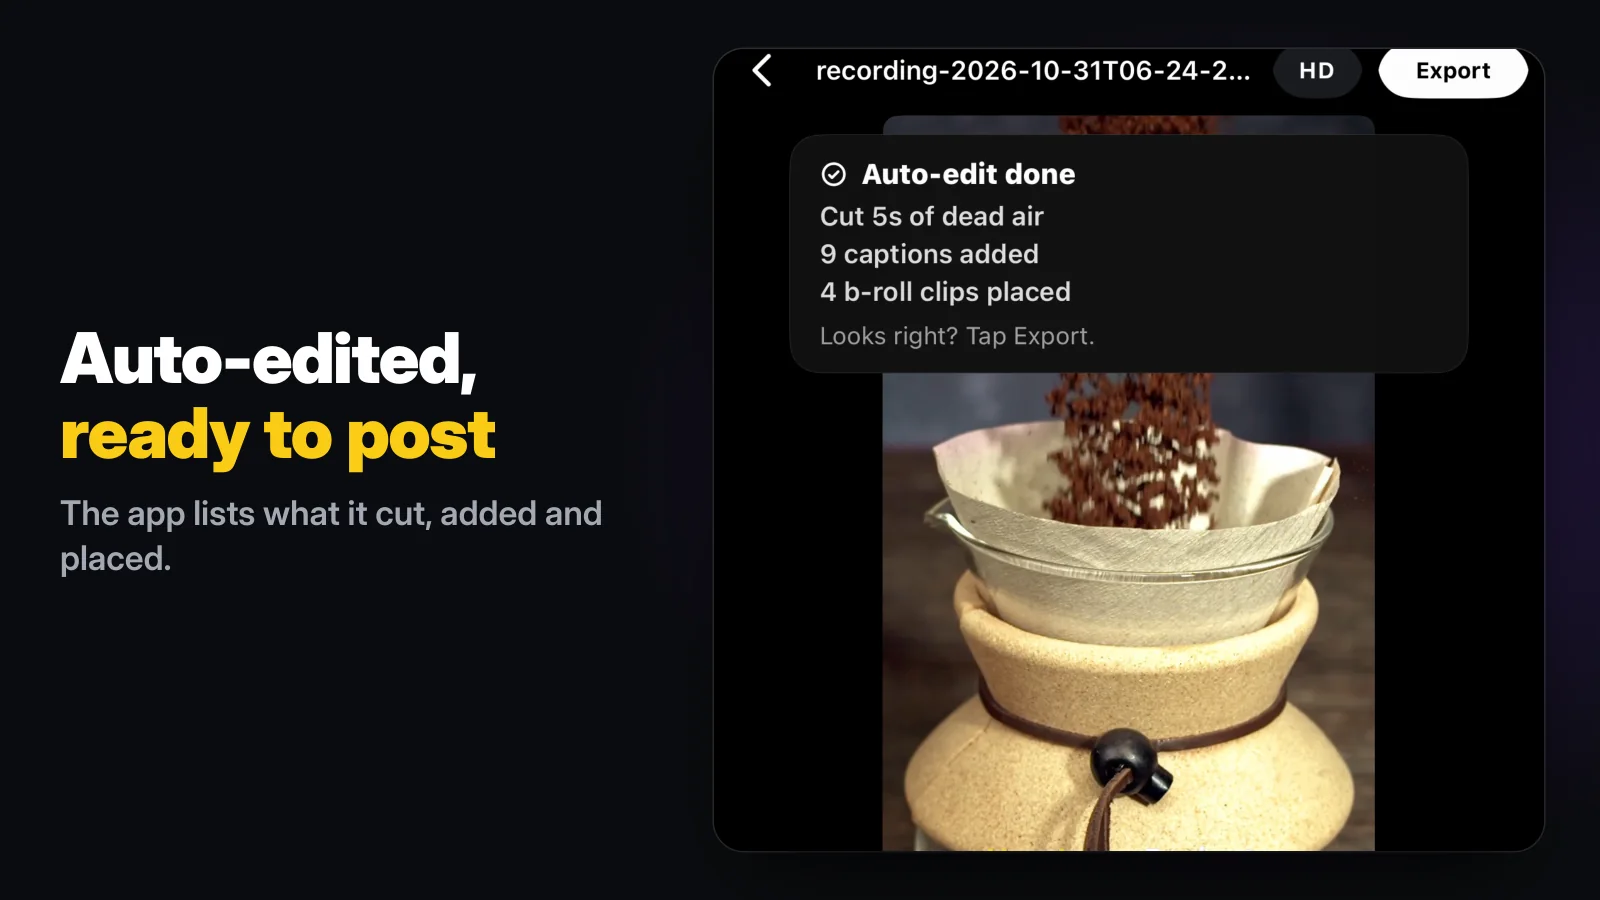
The same take in Wavcut came out differently. Burned-in captions on a vertical video sit over the picture, so they are kept short: the auto-edit made 9 captions of a few words each, after cutting 5 seconds of pauses.
If you have an SRT and need something else, these free tools run in your browser: turn it into WebVTT with the SRT to VTT converter, move every cue earlier or later with the subtitle shifter when the text runs ahead of the voice, or pull the plain transcript out with SRT to text.
Which subtitle method should you use?
For Reels, TikToks and Shorts that you film and edit on a phone, burn them in, so the text is there whatever app shows the clip and whether or not the sound is on. For a YouTube video, upload a file, or let Auto-sync time your script, so viewers can switch the subtitles off and you can add a second language later. If you narrate your videos, our voice-over guide covers recording the voice that the subtitles come from. Weighing editors? The Wavcut vs CapCut comparison goes feature by feature. Wavcut is iPhone-only for now and has no speed control.